
In this tutorial you will learn how to drawn a red shopping bag icon. This tutorial will cover the basic techniques of drawing such as creating the shape, shading, and adding shadows.
Preview of Final Results

Download the PSD
Red Bag Icon.zip | 705 KB
Red Bag Icon
Step 1
Open new document.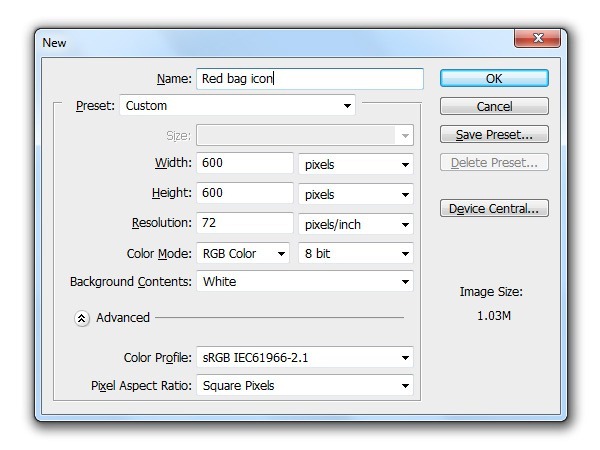
Step 2
Create new layer, call it "main bag". Then use Pen tool to draw the shape as show below.
Step 3
Use Pen tool to make the selection like show in image below and press Ctrl + J to duplicate this selection to new layer. Rename new layer "top bag".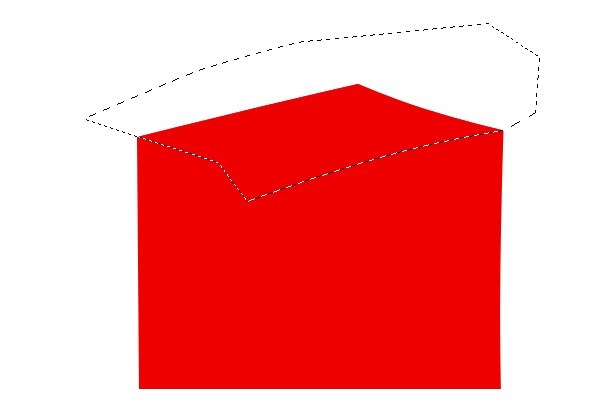
Step 4
Back to "main bag" layer. Use Pen tool to make the selection like show in image below and press Ctrl + J to duplicate this selection to new layer. Rename new layer "front bag".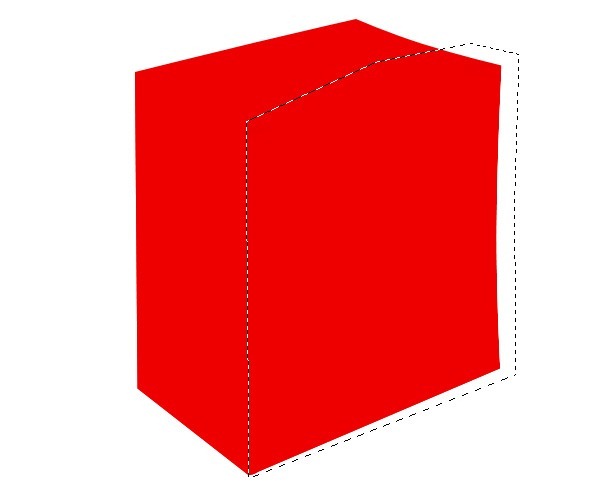
Step 5
Select Burn tool (O), then in the option bar set the setting to following.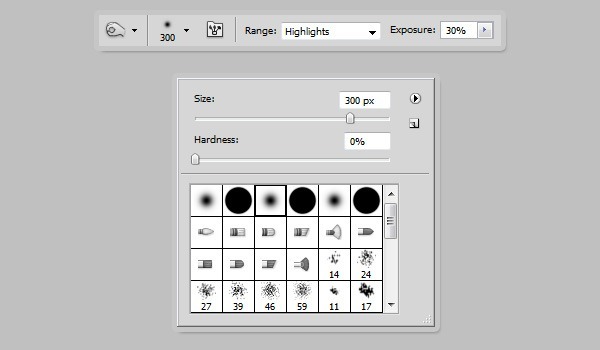
Step 6
Use the Burn tool on the areas indicated in the image below.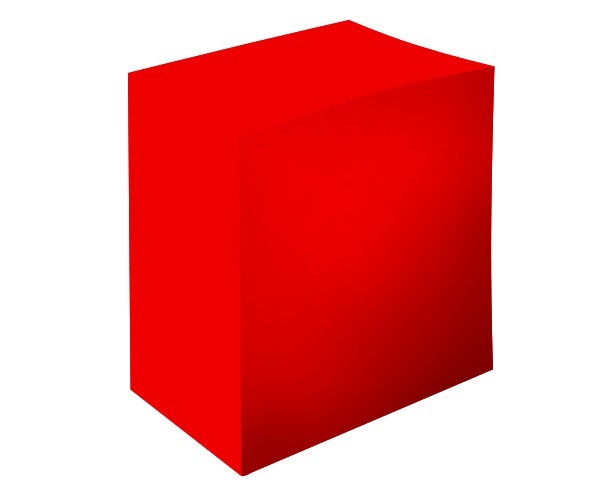
Step 7
Use Pen tool to make the selection like show in image below.
Step 8
Select Burn tool (O), then in the option bar set the setting to following.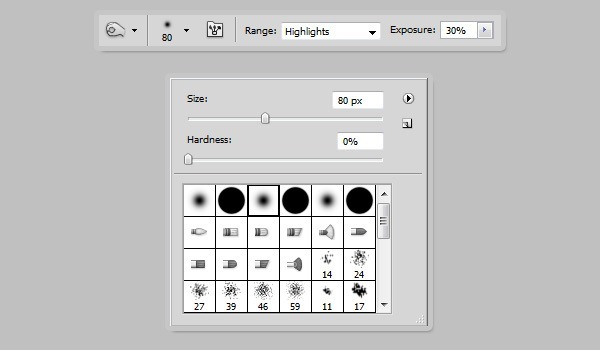
Step 9
Use the Burn tool on the areas indicated in the image below.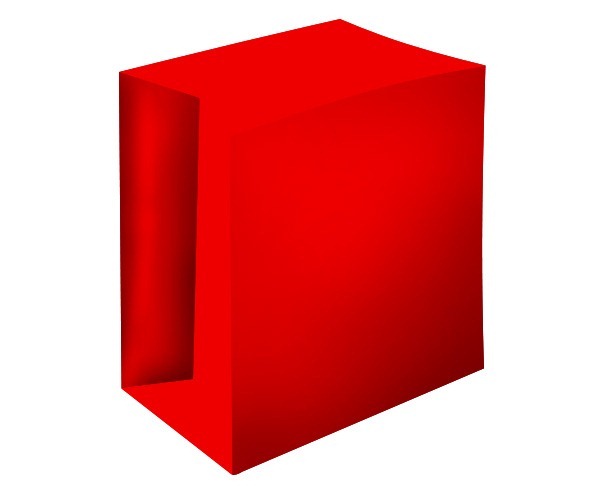
Step 10
Repeat step 7 to step 9 until your image should look like below.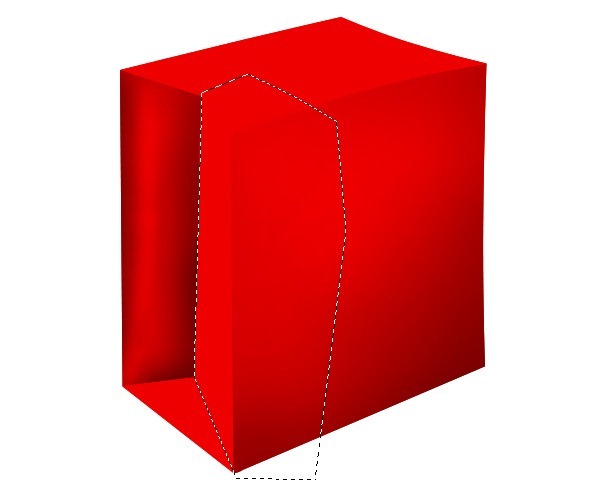
Step 11
Follow the images as show below.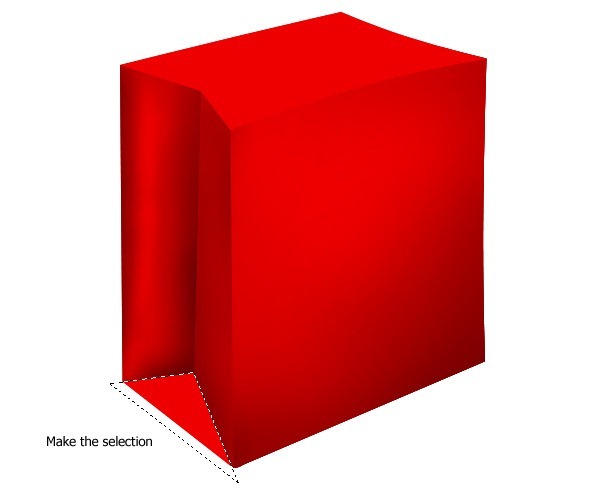
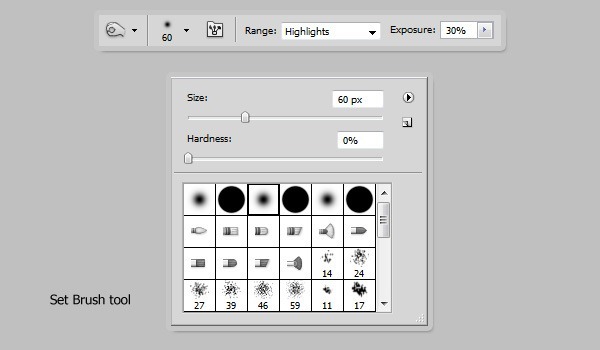

Step 12
Use Burn tool with setting Master Diameter from 80px to 120 px to add more details on the areas indicated in the image below.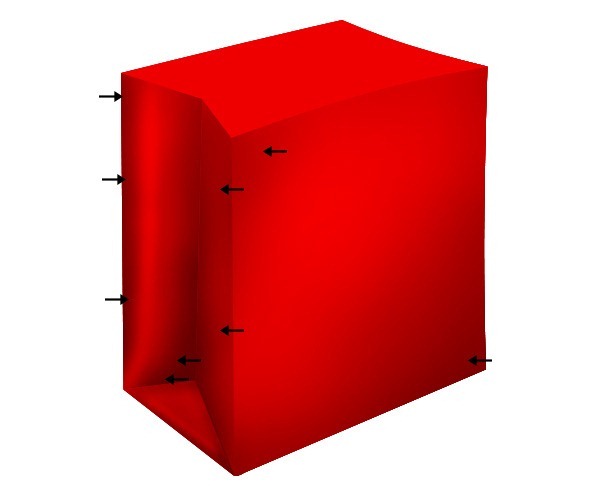
Step 13
At the "top bag" layer use Pen tool to make the selection like show in image below. Then press Ctrl + J to duplicate this selection to new layer. Rename new layer "inside bag" and fill it white color.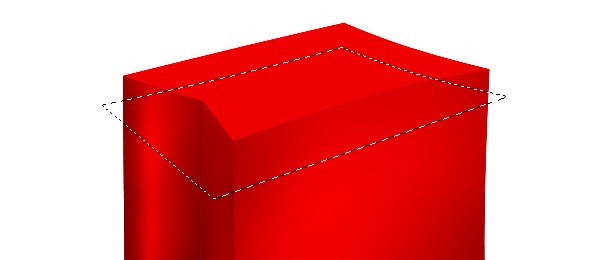

Step 14
Back to "top bag". Use Burn tool with setting Master Diameter about 80px to add more details.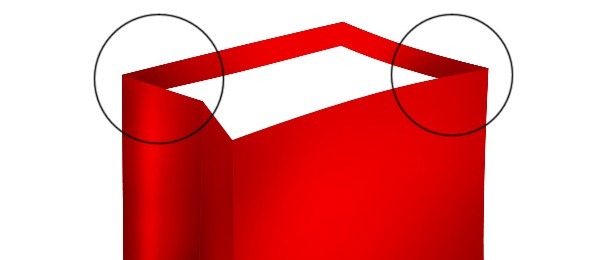
Step 15
Follow the images below to correcting details for "top bag".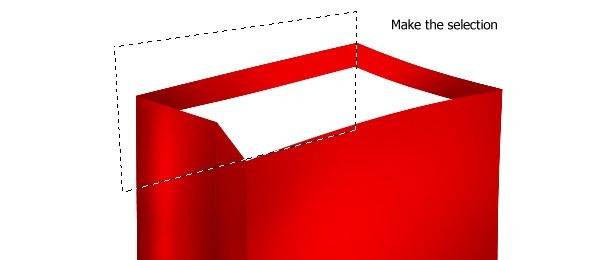
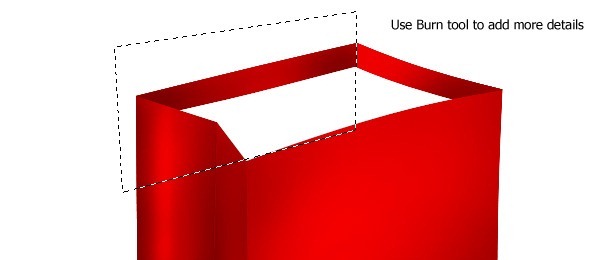
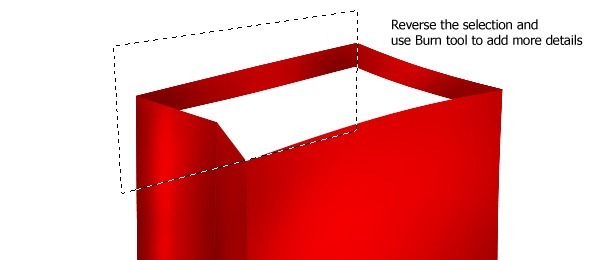

Step 16
At the "inside bag" use Burn tool with setting Master Diameter about 50px to add the detail what the image should look like below.
Step 17
Make the selection as show below and use Burn tool to add more details for "top bag" and "inside bag".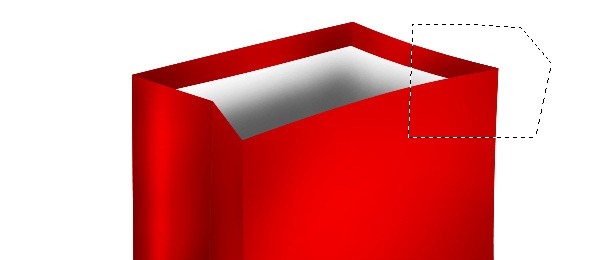

Step 18
Create new layer upon "font bag", call it "front holds" and make 2 holes as show below
Step 19
Open Blending Options to add the style to this layer.![clip_image002[6] clip_image002[6]](http://photoshoptutorials.ws/67a1da0e39cc_137EC/clip_image0026.jpg)
Step 20
Create new layer upon "front holes", call it "front string". Use Pen tool to draw the path as show below.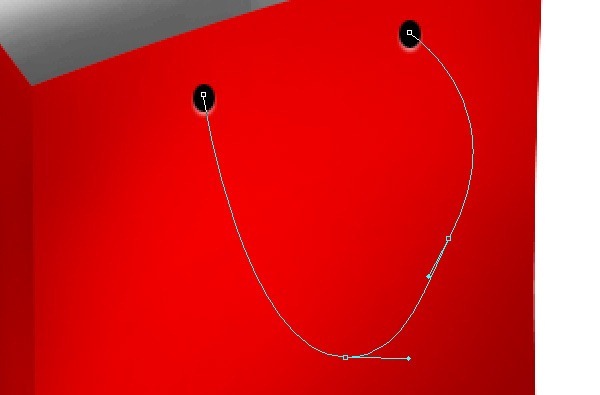
Step 21
While choosing Pen tool right click on the path and select Stroke Path with Brush setting white color, 8px and hard brush..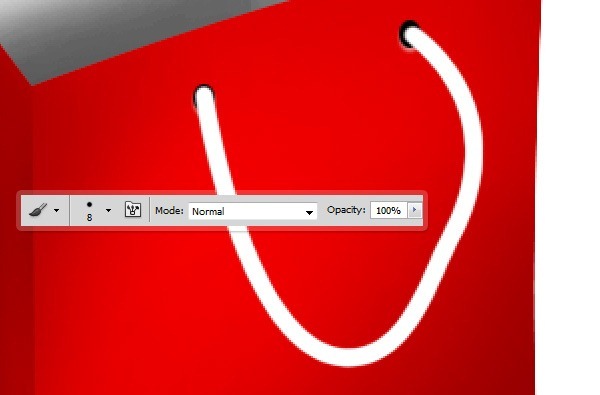
Step 22
Set its style as image show below.![clip_image002[4] clip_image002[4]](http://photoshoptutorials.ws/67a1da0e39cc_137EC/clip_image0024.jpg)
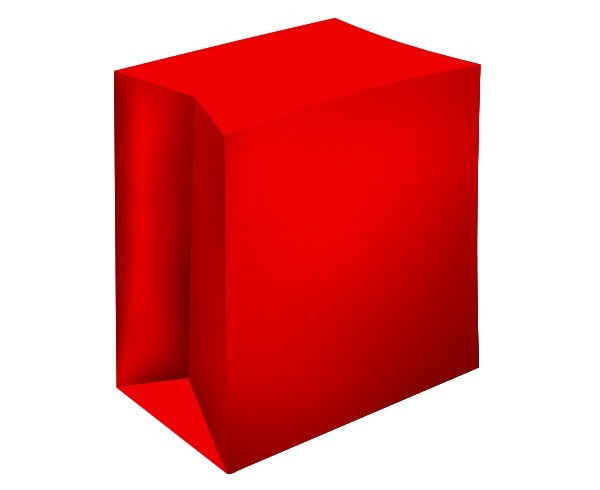
Step 23
Use Burn tool to add more details to "front string".
Step 24
Create new layer upon "string bag", call it "black line". Use Pen tool to draw the following as show below.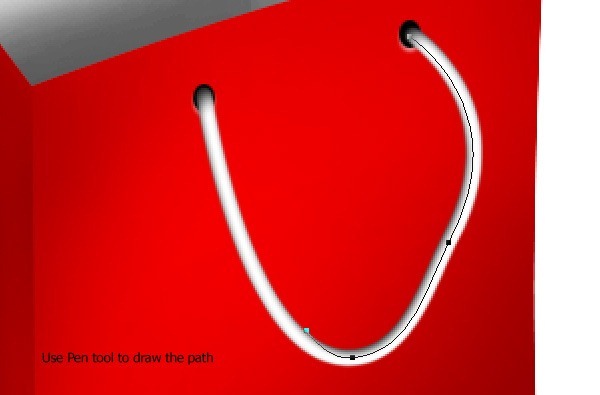
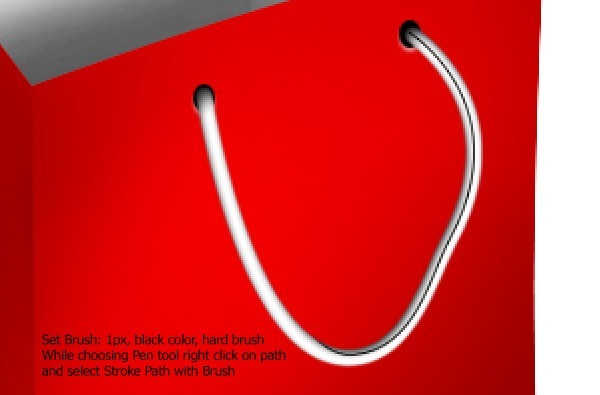
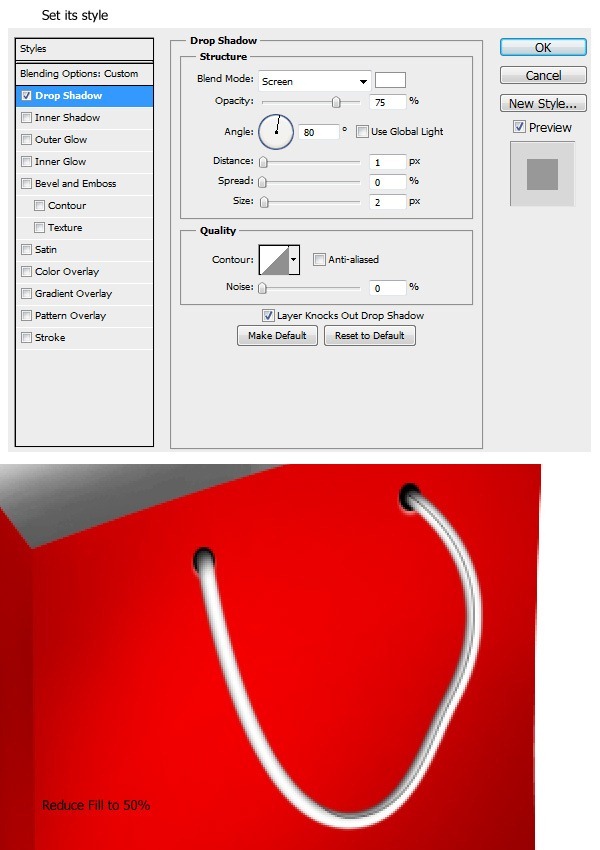
Step 25
Open new document size 5px x 5px and draw the diagonal as show below. Then go to menu Edit > Define Pattern and save it to the name which you want. Close this document and come back to main document.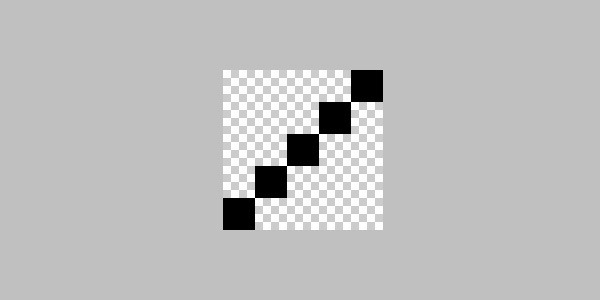
Step 26
Create new layer upon "front string", call it "front diagonal". Go to menu Edit > Fill and recall the Pattern that you just save.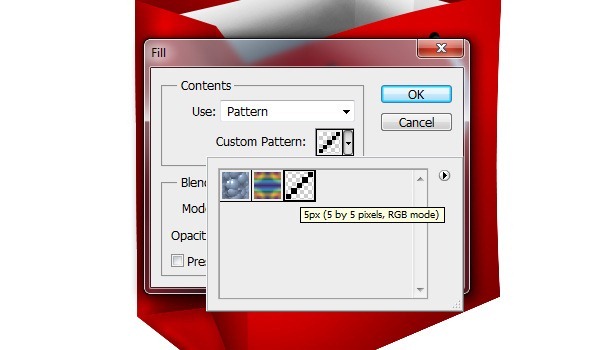
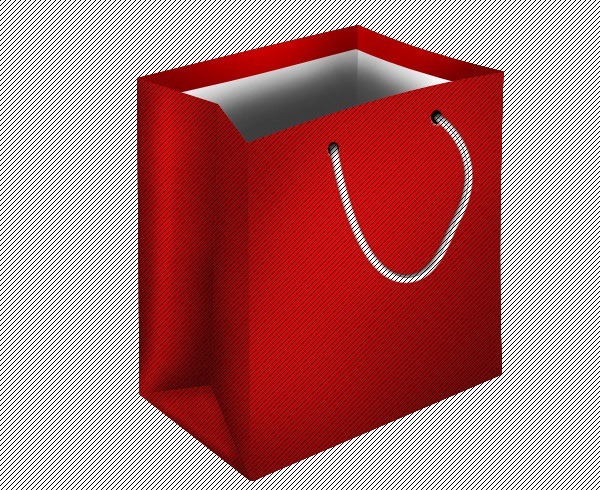
Step 27
Press Ctrl + T to transform it as image show below.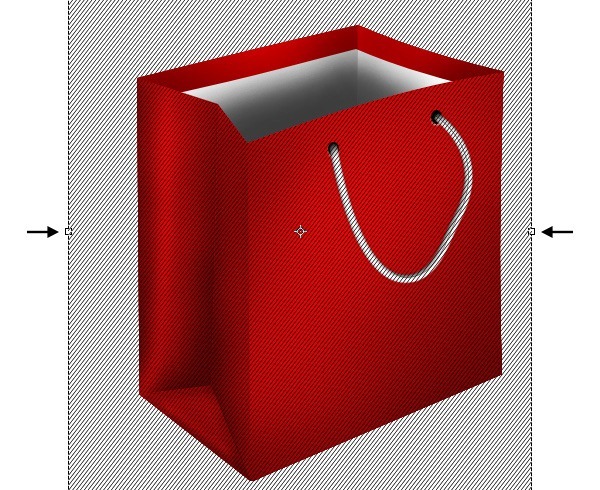
Step 28
While holding Ctrl click on "front string" to obtain its selection. Press Ctrl + Shift + I to reverse the selection and go to press Delete. Then change its Blending Mode to Multiply and reduce Opacity to about 40%.
Step 29
Create new layer, call it "front string shadow". Use Pen tool to draw following as show below.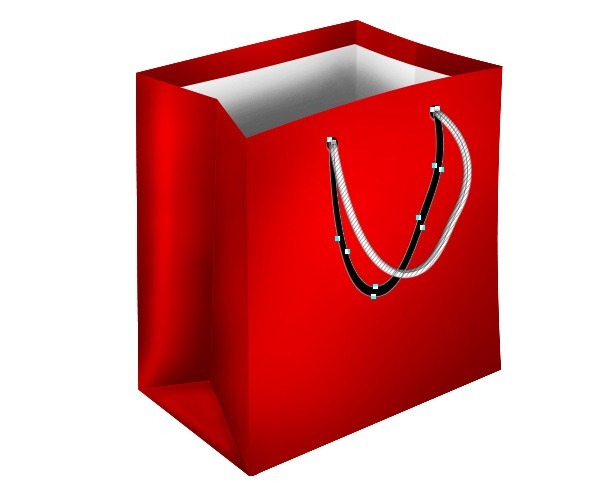
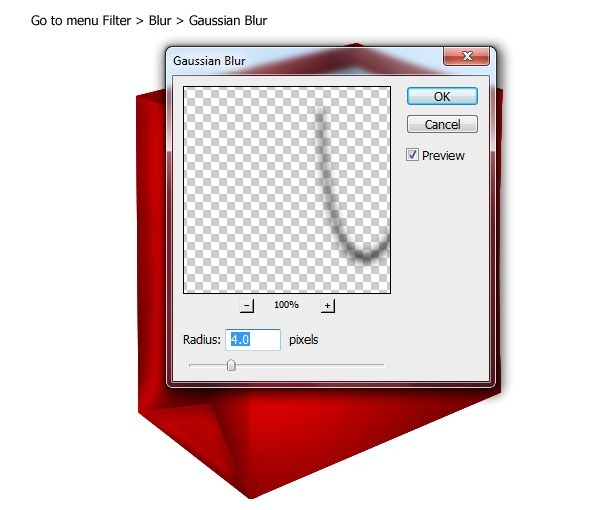
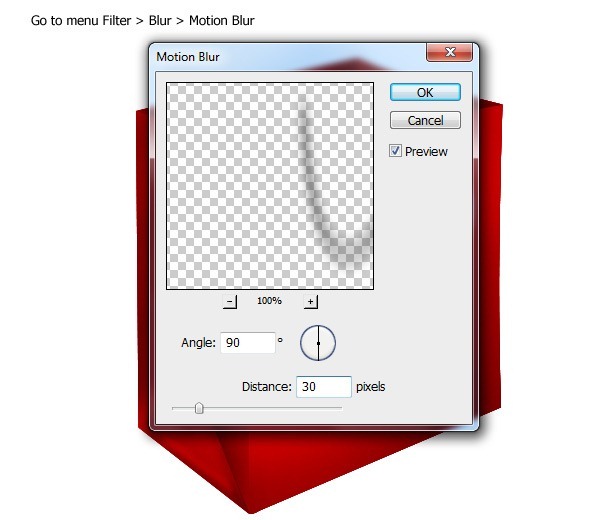
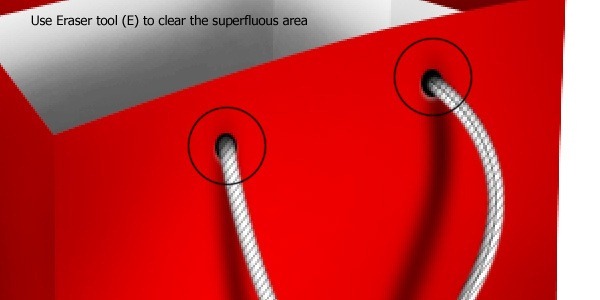

Step 30
Create new layer upon "inside bag", call it " back holes". Draw 2 holes and add to it the same style as "front holes".
Step 31
Create new layer upon "back holes", call it "back string". Use Pen tool to draw the string as image below.
Step 32
Add the layer style to it.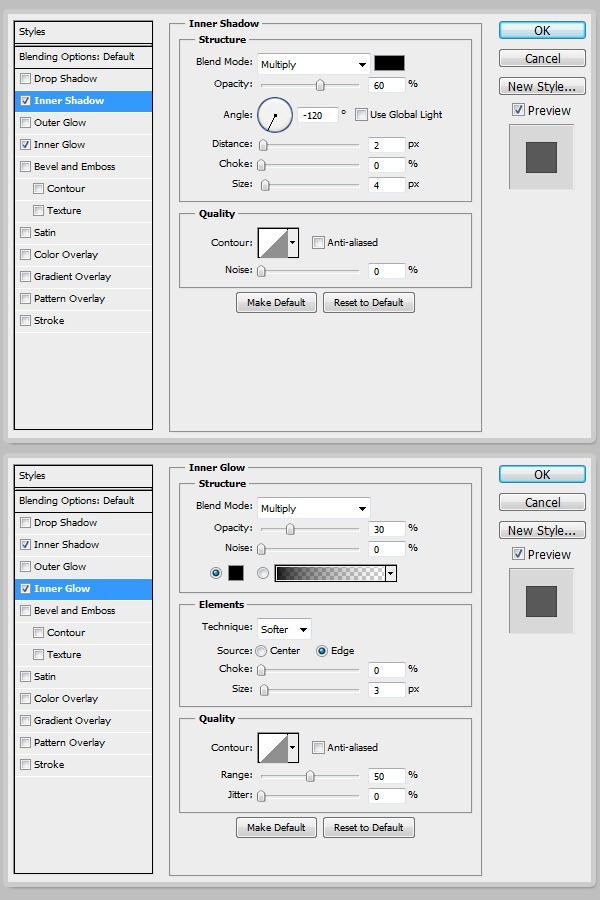

Step 33
Create new layer upon "back string", call it "back diagonal" and make the "back diagonal" as the same way to make the "front diagonal". But reduce its Opacity to 30%.
Step 34
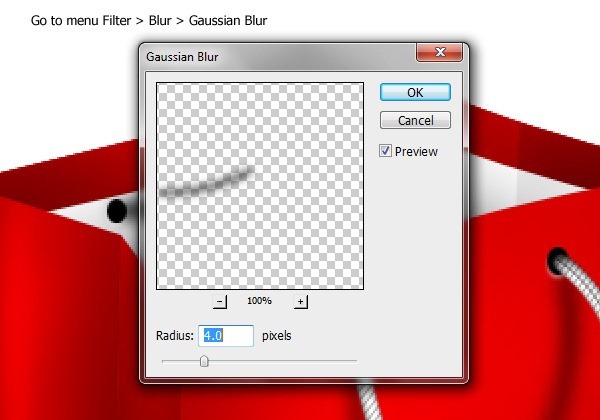
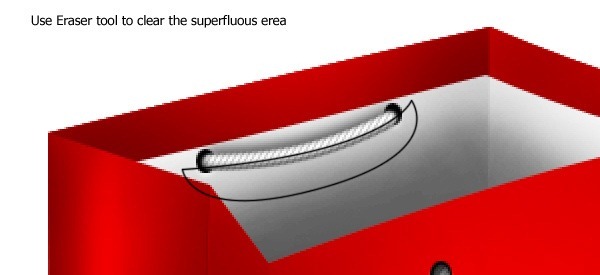
Create new layer under "back string", call it "back string shadow" and use Pen tool draw it as the following show below.
Step 35
Create new layer on top, call it "white line" and use Pen tool to draw the path as show below.![clip_image002[8] clip_image002[8]](http://photoshoptutorials.ws/67a1da0e39cc_137EC/clip_image0028.jpg)
Step 36
Set Brush as image show below. While choosing Pen tool right click on the path and select Stroke Path with Brush. Then reduce Opacity to about 70%.![clip_image002[10] clip_image002[10]](http://photoshoptutorials.ws/67a1da0e39cc_137EC/clip_image00210.jpg)
Step 37
Repeat step 35 and step 36 to make another white lines.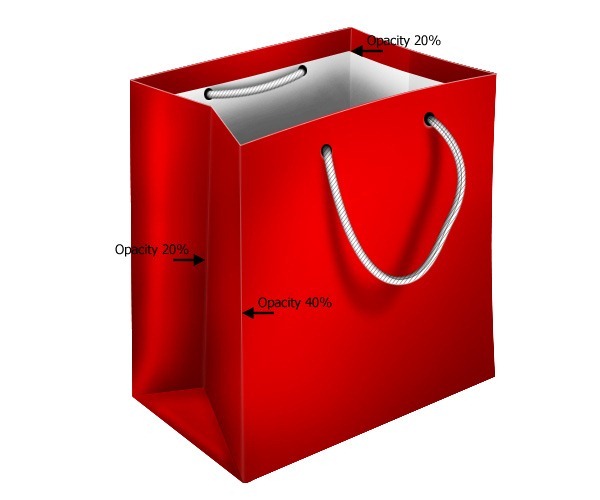
Step 38
Create new layer upon "main bag", call it "reflection". Make the selection as image show below and fill it red color.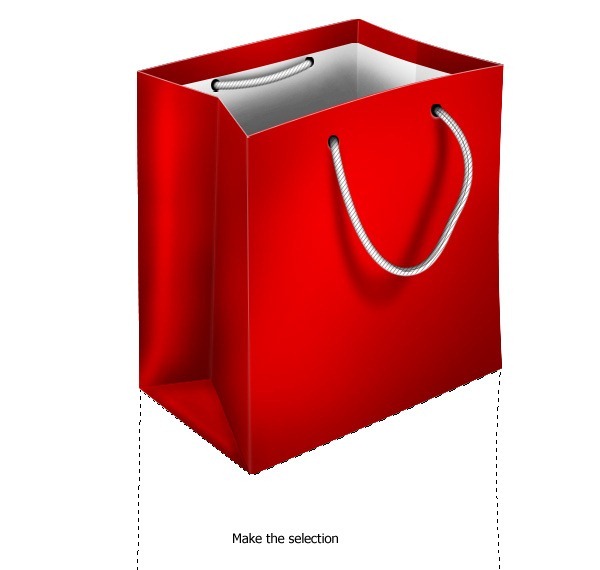

Step 39
Draw the "white lines" with color #e31d1d. Then reduce Opacity of "reflection" to 25%.

Step 40
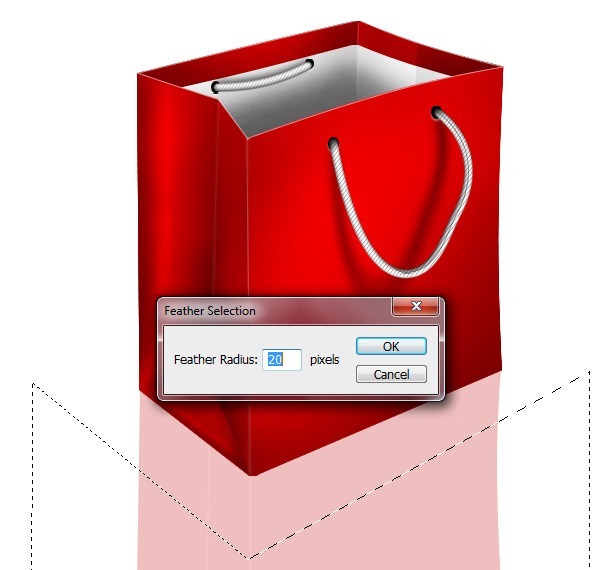
Make the selection as show below. Press Shift + F6 to open Feather Selection and set Feather Radius 20px. Then press Delete 2 times.

Step 41
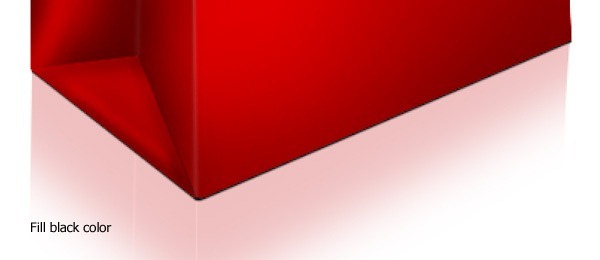
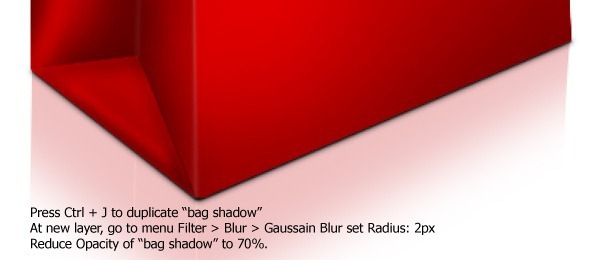
Create new layer upon "reflection", call it "bag shadow" and perform the steps below to make the bag shadow.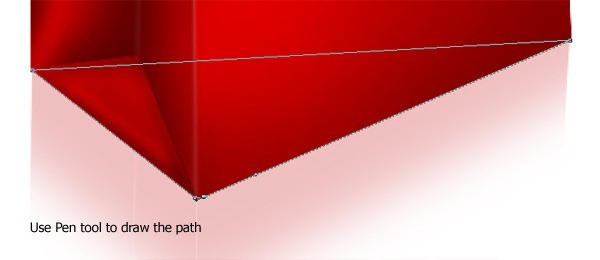
Final Results
![final[1] final[1]](http://photoshoptutorials.ws/67a1da0e39cc_137EC/final1.jpg)

No comments:
Post a Comment